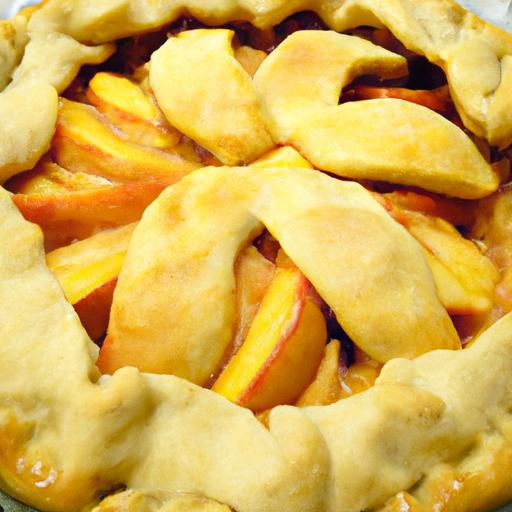


There’s something undeniably magical about the aroma of warm peaches simmering gently on the stove-summer sunshine captured in a jar or pie.But what if you could harness that same homemade sweetness in a fraction of the time? Enter the pressure cooker: a modern-day kitchen marvel that transforms the conventional, slow-simmered peach pie filling into a speedy, luscious delight. In this article, we’ll explore how to turn fresh peaches into velvety pie filling with just a few minutes and minimal fuss, proving that fast doesn’t mean sacrificing flavor.Get ready to unlock the secret to “Speedy Sweetness” and elevate yoru baking game with pressure-cooked perfection.
Speedy Sweetness: Making Peach pie Filling in a Pressure Cooker is the answer to rapid, luscious pie fillings bursting with fresh fruit flavor. Nothing compares to the aroma of ripe peaches mingling with warm spices, especially when that flavorful mixture comes together in minutes rather than hours. Whether you’re short on time or craving a homemade peach pie filling without the wait, mastering this technique brings the charm of peach season to your table in a flash.
Choosing the Perfect Peaches for Pressure Cooker Pie filling
peach selection is the cornerstone of this speedy sweetness recipe. For the best results, opt for peaches that are ripe but still firm. Overripe peaches can turn mushy during pressure cooking, while underripe ones lack the sweetness and depth of flavor needed. Look for peaches with a fragrant aroma and a slight give when gently pressed. Varieties like Elberta or Freestone peaches are ideal as they separate easily from the pit and yield juicy slices perfect for pie filling. Avoid bruised or overly soft spots to keep the texture intact under pressure.
Mastering the Balance of Sweetness and Spice in Your Filling
Achieving harmony between sweet and spice is what transforms this filling from ordinary to unusual. Use granulated sugar to amplify natural peach sweetness,but don’t shy away from depth-add a pinch of cinnamon,a dash of freshly grated nutmeg,and just enough lemon juice to brighten the flavor and prevent browning. the subtle tartness of lemon enhances the fruity notes, while warming spices round out the profile creating a pie filling that dances on your palate. Adjust sugar levels depending on peach ripeness and your own sweet tooth for perfect balance every time.
Step by Step Guide to Pressure Cooking Peach Pie Filling
Prep and Cook Time
- Preparation: 10 minutes
- pressure Cooking: 5 minutes
- total time: 20 minutes (including quick release and finishing)
Yield
This recipe yields enough filling for one 9-inch pie or approximately 4 cups of luscious peach pie filling.
Difficulty Level
Easy – perfect for beginners or anyone looking to prepare a speedy homemade pie filling with confidence.
Ingredients
- 5 cups fresh peeled and sliced peaches (about 6 medium peaches)
- 3/4 cup granulated sugar
- 2 tablespoons cornstarch
- 1 teaspoon ground cinnamon
- 1/4 teaspoon freshly grated nutmeg
- 1 tablespoon fresh lemon juice
- 1/4 teaspoon salt
- 1/2 cup water
- 1 teaspoon pure vanilla extract (optional for extra warmth)
Instructions
- Prepare the peaches. Start by peeling the peaches using a sharp paring knife or blanching them briefly in boiling water to remove skins easily.Slice the peaches into roughly 1/2-inch thick slices.
- Combine dry ingredients. In a mixing bowl, whisk together sugar, cornstarch, cinnamon, nutmeg, and salt. This mixture will thicken and flavor your filling beautifully.
- Layer the filling. Add the sliced peaches to the pressure cooker insert, pour the dry mixture evenly over the top, then drizzle with lemon juice and water. Stir gently just enough to coat the peaches, taking care not to break them.
- Seal and cook. Secure the lid on your pressure cooker and set it to high pressure for 5 minutes. Once the time is up, perform a quick pressure release to prevent overcooking.
- Add vanilla. Carefully remove the lid, stir in vanilla extract if using, and check the consistency.If the filling is thinner than desired, use the sauté function to simmer and thicken for 2-3 minutes.
- cool and store. Let the filling cool completely before transferring to jars or airtight containers. This filling freezes beautifully or can be refrigerated for up to 5 days.
Tips for storing and Using your Speedy Peach Pie Filling
Speedy sweetness doesn’t just mean quick cooking; it also means convenience with storage. For single-use portions, freeze the peach pie filling in silicone muffin molds or ice cube trays, then transfer to freezer bags. This makes it easy to thaw just what you need for individual pies or cobblers. When refrigerated, keep the filling in a glass container with a tight seal to preserve it’s vibrant flavors and fresh texture.
To use, thaw overnight in the fridge or warm gently on the stovetop. This filling is versatile enough to star in recipes beyond pies – try it as a topping for vanilla ice cream, stirred into yogurt, or swirled into oatmeal for a burst of peachy goodness.
Chef’s notes
- For a deeper caramelized flavor, sauté the peach slices lightly with butter before pressure cooking.
- Adjust sugar according to the sweetness of your fruit; organic or less ripe peaches often need more sugar.
- Add a pinch of ground ginger or cardamom for an unexpected spice twist.
- Substitute cornstarch with arrowroot powder for a clearer, glossy filling.
- Make ahead: filling can be made a week in advance; just store in the refrigerator and stir before use.
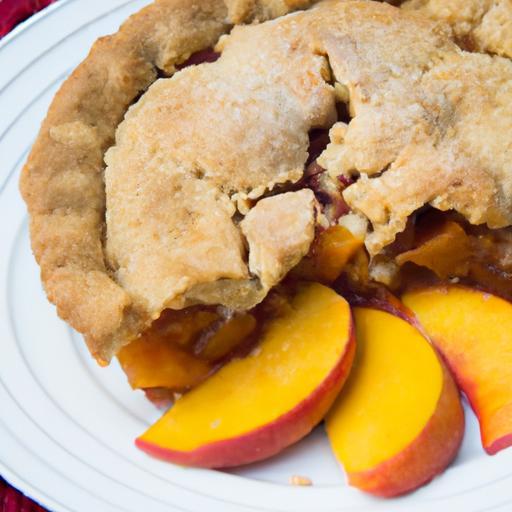
Serving Suggestions
Serve warm peach pie filling inside a classic double-crust pie or use as a luscious topping for a rustic galette. For elevated presentation, top with a dollop of freshly whipped cream and sprinkle with toasted almonds or a crumble of cinnamon sugar. A scoop of vanilla bean ice cream alongside enhances the comforting, summery notes of the filling. This shining, flavorful filling also pairs beautifully with flaky biscuits or dolloped over pancakes for a speedy Sunday brunch treat.

| Nutrient | Per 1/2 cup Serving |
|---|---|
| Calories | 110 |
| Protein | 1g |
| Carbohydrates | 28g |
| fat | 0g |
For further inspiration on fruit fillings, check out our homemade fruit pie fillings guide. Or dive deeper into peach varieties and their seasonality with this detailed resource from the U.S. Peach Council.
Q&A
Q&A: Speedy Sweetness – making Peach Pie Filling in a Pressure Cooker
Q1: Why use a pressure cooker to make peach pie filling?
A1: Think of a pressure cooker as your culinary time machine-it dramatically cuts down cooking time while intensifying flavors. Instead of simmering peach goodness for an hour, you’re compressing that warm, luscious sweetness into minutes. It’s perfect for when you crave homemade pie filling but can’t wait all day!
Q2: Does the pressure cooker affect the texture of the peaches?
A2: Absolutely-but in a good way! The high-pressure steam softens the peaches evenly and quickly, creating tender chunks that hold together just enough to be pie-perfect, rather than turning to mush.you get that delightful balance of softness and structure without babysitting a stove.
Q3: How do I prevent the filling from becoming too watery or runny?
A3: The secret lies in the starch and timing. Add a bit of cornstarch or tapioca starch right after cooking and give it a quick stir-it thickens the juices beautifully. Also, pressure cook for the recommended short duration; overcooking can lead to excess liquid. A quick natural release helps too!
Q4: Can I customize the sweetness and spice level?
A4: Of course! One of the joys of homemade pie filling is tailoring it to your taste buds.Feel free to adjust sugar levels, or toss in warming spices like cinnamon, nutmeg, or ginger during cooking. You can even add a splash of vanilla or a squeeze of fresh lemon juice for extra zing!
Q5: Is this method suitable for frozen peaches?
A5: Definitely! Frozen peaches work wonderfully in a pressure cooker since the cooker handles moisture beautifully and speeds up thawing and cooking simultaneously. Just keep an eye on consistency and adjust thickener amounts as frozen peaches might release more liquid.
Q6: How long can I store the pressure-cooked peach pie filling?
A6: Stored in an airtight container,your vibrant pressure-cooked filling stays fresh in the refrigerator for about 4 to 5 days. For longer shelf life, freeze in portioned containers-this way, you have speedy sweetness ready whenever the pie mood strikes!
Q7: Can I use this filling for other desserts besides pie?
A7: Absolutely! This versatile filling isn’t just a one-trick pony. Drizzle it over pancakes, mix into yogurt parfaits, swish through ice cream, or fold into muffins. The pressure cooker magic maintains that fresh, bright peach flavor ideal for countless sweet treats.
Q8: What’s a quick tip to perfect my peach pie with this filling?
A8: When assembling your pie, brush the crust edges with a bit of beaten egg for that golden glow, and sprinkle a little sugar on top before baking. The result? A pie that not only tastes heavenly but looks dazzling-thanks partly to your speedy, scrumptious filling!
Embrace the power of pressure cooking and let your peach pie dreams come to life with speed, flavor, and a touch of rustic charm. Sweetness has never been so swift!
In Conclusion
With just a handful of fresh peaches and the magic of your pressure cooker, you’ve unlocked the secret to speedy sweetness that rivals any slow-simmered pie filling. This method not only saves precious time but also preserves the vibrant flavors and luscious texture that make peach pie such a beloved classic. So next time your pie cravings strike, remember: a perfectly luscious peach pie filling is just minutes away-ready to fill your kitchen with warmth, aroma, and nostalgic delight.Happy baking, and may your pies always be as swift as they are sweet!